
Worm bins need not be expensive or hard to build.
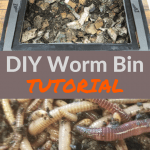
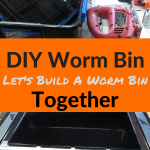
We are going to show you how to build a great worm bin to house your composting worms.
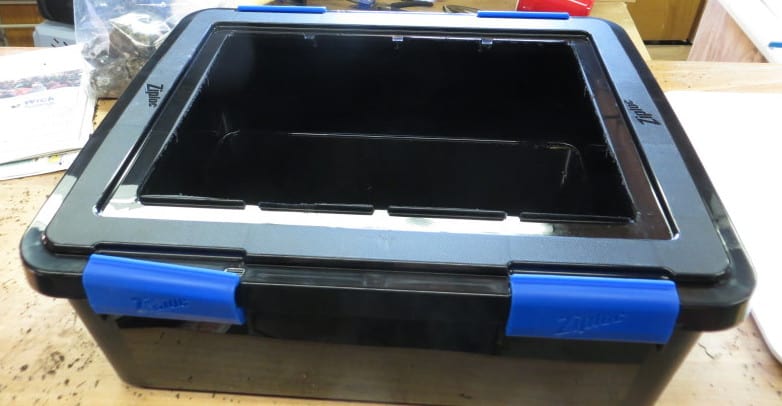
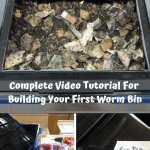
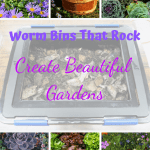
The above-pictured worm bin cost about $11.00. The dimensions of this bin are 14 x 18 x 6 inches deep.
The lid also features a rubber seal making it virtually escape-proof.
These worm bins give you 1.75 square feet of space which will handle two pounds of redworms easily.
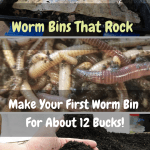
Worm Bin Inhabitants
We do not want to start with 2 pounds of worms of course.
We would suggest adding a half pound to one pound of worms to start.
If you are a new redworm grower, our suggestion would be to obtain a starter worm bin mix that contains worms of various sizes, cocoons, and worm bedding materials.
The bedding material is from an existing worm bin and will help to inoculate your new bin with beneficial bacteria and fungi.
Young worms and cocoons also seem to adapt more easily to a changed environment. Let’s get building our new worm bins.
Worm Bins Are Easy To Build
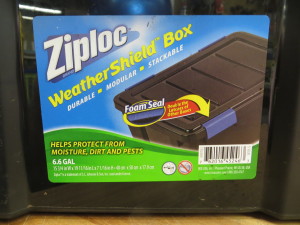
We need to purchase a Ziploc WeatherShield box in black (not the clear one). Our local Walmart stocks these for $10.73. You can also order online from Walmart if not available locally.
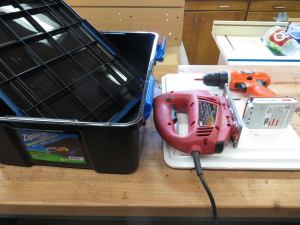
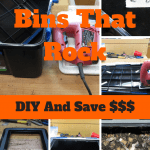
The tools required are a drill, 1/4 inch drill bit, and a jigsaw.
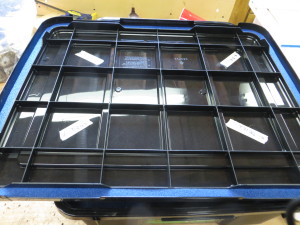
The tape points to the corners to be drilled.
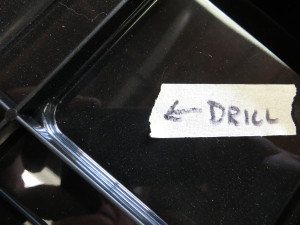
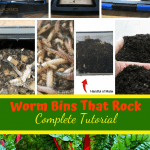
We want to drill the lid with the 1/4 inch bit in the four corners as shown. This allows us clearance to get our jigsaw blade into the lid.
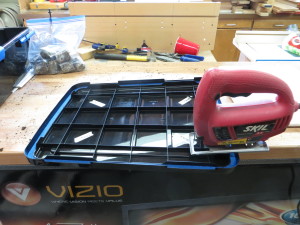
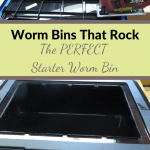
We then cut out the center of the lid as shown. Be sure to leave the first support rib all the way around so the lid still has structural integrity.
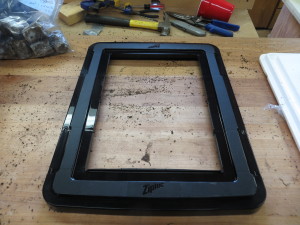
Congratulations…. you are done. Clean the box up by washing with soap and water and rinse well.
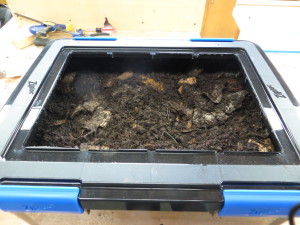
Fill with new bedding to about four inches deep.
I made a Youtube video showing how I cut the center out of the lid:
We now have a very reasonably priced, escape-proof worm bin that will hold at least two pounds of redworms.
We need black bins because they are opaque and worms do not like the light.
These bins can also be stacked up to three high if you put stickers ( wood pieces that span across the cut-out opening) on the tops.
There needs to be airspace so the worms and bedding get good air circulation.
We do not drill drainage holes in the bottom. You certainly can if that makes you happy.
There should not be leachate running from the bottom if you are checking your moisture levels regularly.
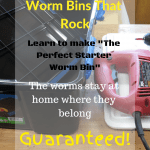
The foam seal is nice to prevent mass escapes when conditions are not right in your bin.
If your worms are happy, they will not even try to escape.
Make one of these bins and try it out for yourself. Worm on.

Thank you for this information. I live in Canada and cannot buy from Walmart in the US. While I found the bin on the Walmart Canada site it was about $17.00. But it was not available to purchase at this time. I was not able to find it elsewhere. I have access to reasonably priced pails that have a similar seal that is tight like the seal on this bin, would they not work. I realize they have a smaller surface area than the bin.
I do have a question however, if you need the seal on the lid to prevent them from escaping, why do the not escape through the area cut out of the lid?
Hi John, I am sorry that you are not able to purchase the bin in Canada. However, all is not lost. You certainly can use a bucket system as you have described but with the small surface area, it is not ideal. Another good option would be plastic totes or mortar trays. I use mortar trays in my inside system that are 20x24x6 inches deep. I have a rack system and the trays are stacked vertically. They do not have a lid but the worms generally do stay home. The mortar trays have about 3 sq. ft. of surface area and can accommodate several pounds of worms. These are purchased at Lowe’s or Home Depot and cost about $7 here. In answer to why the worms can’t escape from the Starter bin… there is a 4″ lip all around the lid that worms can’t seem to navigate without falling back in. I hope this answers your questions and thank you for visiting Iowa Worm Composting.
New to work farming.
In my regular outside composting bins I can put rotting vegies, fruits and such. Can worms handle turned organic stuffs that may have some mold starting?
The open top is simply for airflow in lieu of drilled holes? Is there a preferred size of hole in the ceiling?
Is a damp cardboard top layer sufficient to maintain darkness?
Thank you
Hi Lisa, Mold will not hurt your worms…they will eat it. I prefer an open-top for airflow but if you are going to use a lid… go with several holes. The size doesn’t matter much. Damp cardboard or newspaper is an excellent cover for your worm bin and also helps to keep the moisture in. Good luck with your worms. Rick
I’m new to the worm farming world. What is the best bedding to use for starter beds?
The best advice is to use what you have. This could include peat moss, coco coir, corrugated cardboard, newspaper, dried leaves, dried grass, egg carton cardboard, horse manure, rabbit manure, cow manure, etc. A combination of these types of bedding materials are best. Hope this helps you out.
I’ve had a worm farm in the past (two bins, actually) and I’m curious as to why you cut the top out of the lid. I drilled 1 inch holes in the sides, about 2 inches from the top and 4-5 inches apart, for ventilation then hot glued a 2 inch square of pantihose over the inside of the hole. I used window screen material on the second bin and it dried out much faster, which I remedied with a damp piece of burlap over the top of the bedding.
My bins also had snap-on lids, and I’m going to tell you– if you have a thunder storm, put a bright light over your bins!! Unless it’s completely sealed, those little wrigglers can squeeze out of almost anywhere!
That is the reason for the foam seal. it is not impossible that worms can not get out…but it hasn’t happened yet.
I just wanted to add that I used a deeper bin. I think it was a 15 qt bin.
Hi Rick. I just started worm farming a month ago with ANC and until now I still have trouble with worms escaping. I’ve done all the suggestions in Google (i.e., light, proper moisture, proper pH, etc.) but they are still escaping. My question is will your suggested method apply to ANC? I believe your worms are Red Wrigglers, which are shorter than the 4″ lip you have described that the worms seem to not get past by and fall back to bin. Also, I read some articles on the net stating that ANCs have the tendency to roam.
Thanks
Hi Zev, I am not an ANC expert. My best guess is that it will also work to keep them contained. I do know that ANC require different bedding materials and food than Reds or ENC. If your worms are constantly trying to leave…there may be a bedding issue. Hope this helps. Thanks for stopping by. Rick
Thanks Rick!