Getting Started
Getting started with red worms could not be easier. Red worms are amazing creatures. Their evolution has enabled them to live and adapt to a variety of environmental conditions. There are limits, however, and our job is to provide them with an environment that allows them to be happy and thrive.
Red worms have some basic needs to survive:
- Proper Bedding Materials
- Bedding Moisture
- Food
- Correct Bedding temperatures
We will address each of these requirements one by one.
Worm Bedding Materials
The picture on the left is an example of good bedding materials. A list of good bedding material:
Peat Moss
Brown corrugated cardboard (cut into smaller pieces)
Newspaper (torn in about 1-inch strips)
Coconut coir
Paper egg cartons (torn up)
Shredded paper (not too much white paper because it is bleached....you can use some though)
Brown paper ( torn up grocery bags, brown paper towels, etc.)
Brown leaves (not green)
Dried out grass (again...not green)
Ideally, we want to use a combination of different bedding materials. An example would be equal amounts (by volume) of peat moss, corrugated cardboard, and paper.
Worms Need Moisture
Red worms need moisture to breathe. Worms breathe through their skin. A dry worm is a DEAD worm. Bedding needs to be maintained at a 60 - 90% moisture level. A good rule of thumb is to grab a fistful of bedding and squeeze. You want a drop or two of water to show up. If water runs down your arm...your bedding is too wet. You want your bedding to be the consistency of a wrung-out sponge. A spray bottle works really well to spritz the top of your bedding when feeding. Check the moisture level every time that you feed. A simple moisture meter in the left picture is a good investment. This one cost about $10.00. This makes checking moisture levels very easy.
Red Worms Eat What?
Getting started with red worms feeding is easy! Red worms can eat just about anything. They absolutely love manure. We should instead probably talk about what NOT to feed your worms. The following is a list of foods to avoid:
Oil and Grease
Onions and Garlic
Citrus (oranges, limes, lemons, pineapple)
Meat and /or Dairy products
Breads and Pasta (small amounts okay)
Pet manure (dog, cat, human)
In the picture at left, I am holding a frozen 3 ounce cup of blended vegetable and fruit scraps from our kitchen. This is my preferred method for feeding our indoor bins. This is buried in the bedding and helps to control moisture levels in the bin. Since this is frozen, fruit fly eggs don't hatch and become a problem. Freezing also helps to break down the food so it decomposes faster.
Worm Bedding Temperature
Red worms can survive bedding temperatures of 34 - 90 F. Obviously, the extremes are not ideal. Your garage in the summertime is NOT a good place for your worms. They will cook and become dead in a hurry. Raising worms outdoors creates many challenges in most climates. Too hot in the summer and too cold in the winter. Special care must be taken to raise your worms outside. That is beyond the scope of this beginning primer. Bedding temperatures of 60 - 80 F. is a good range with the upper portion of the range being ideal. A basement is a very good place to raise your worms. I have noticed that my bedding temps run about 5 - 10 F. below the ambient air temp in the room.
Worm Bins


Home Sweet Home
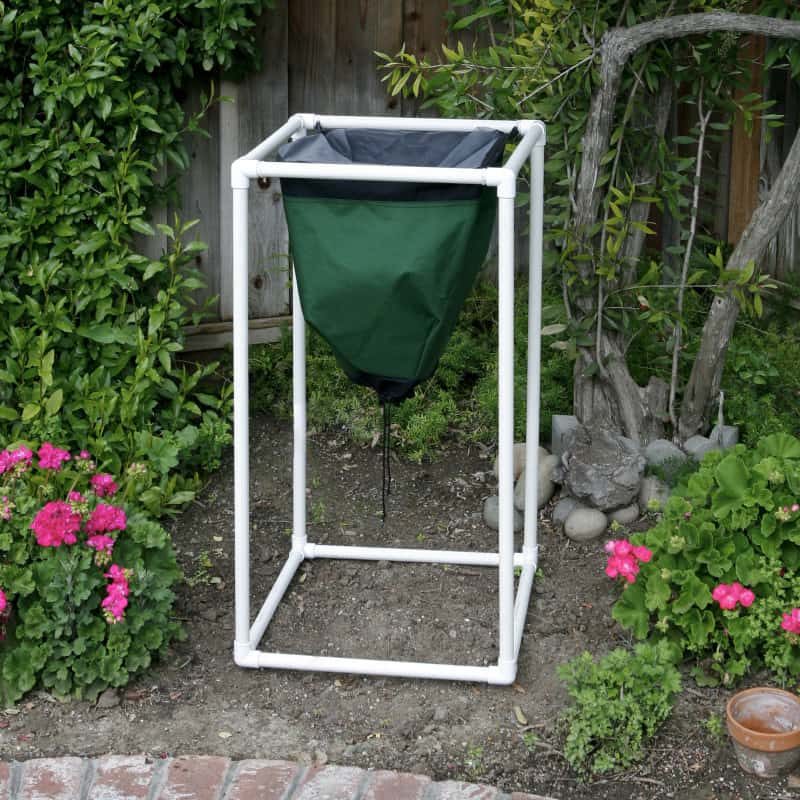
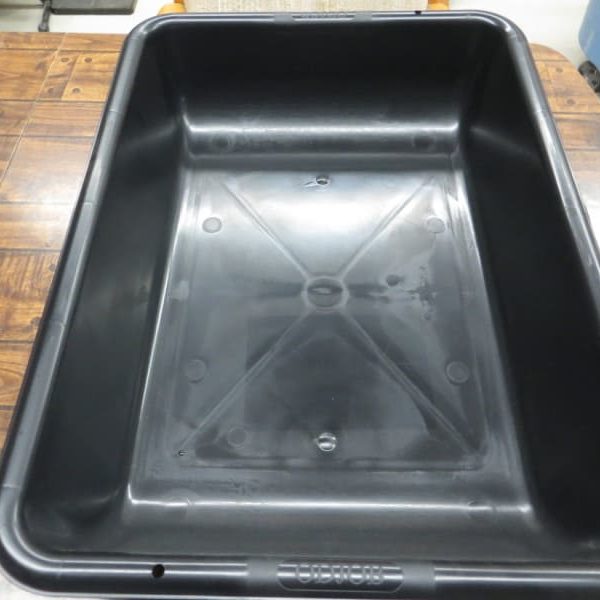
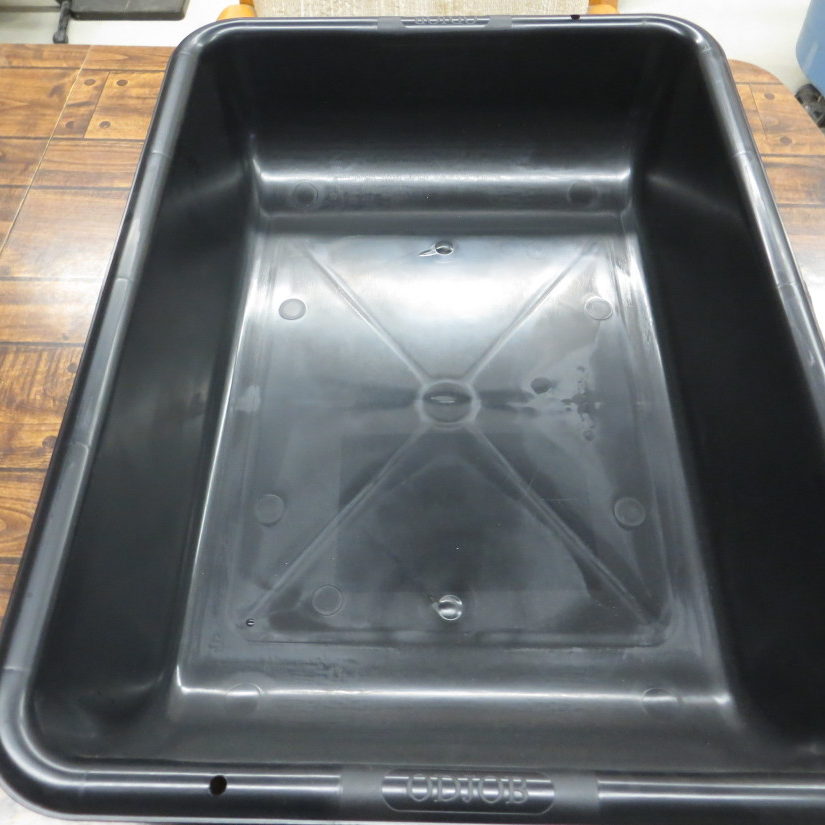
We have pictured above a couple of examples for your new red worm housing. The one on the left is about $100 and the one on the right is 6 bucks. You are probably getting the idea that you can spend as much or as little as you want. If you meet their food and bedding needs...the red worms don't care if you want to be a slumlord.
There are a couple of big differences between these two bins though.... hint: it has to do with you. The Worm Inn on the left allows you to harvest castings out the bottom without disturbing your little 24 - 7 compost makers. You feed and add new bedding from the top and it is a continuous cycle.
The bin on the right will require you to take all the bedding and castings (worms too) out about every 3 months. You will then need to add your red worms to the new bedding. There is no right or wrong here...just a choice.
There are more different ways to raise worms than there are varieties of worms. Do whatever you like, but keep your red worms happy, and all will be well.
11 Easy Tips For Getting Started With Red Worms
Prepare your worm bin BEFORE ordering any worms: Your new bin needs to be set up for at least a week and two weeks would be better. This allows for microbes and fungi to start working on the food and bedding to make it hospitable for your new babies. It also gives you time to get the moisture content stable.
If you don't have an existing worm bin with worms in it: Strongly consider buying a starter mix from your supplier to inoculate your sterile new bin. This starter mix will have worms of various sizes, cocoons, and most important.... bedding from an existing worm bin. It really is not much slower than stocking with a pound of worms. Younger red worms also seem to adapt better to new conditions. This also allows you to learn and get your toes in the water. Cheaper too! We all like that.
Do NOT overfeed: This is by far the most common beginner mistake. The smaller your bin is... the more important this becomes. Too much food is more than your red worms will eat in a few days. Don't give more food until this is gone. Your worms will not starve in good bedding. Excess food gives off ammonia which will KILL your worms. Be careful.
Only top feed grain-based foods: (example: Worm Chow) Do not mix this into the bedding. Grains are notorious for creating ammonia and alcohol when mixed in the bedding. However, grains can really fatten your worms and supplement their regular feedings. Don't mix it in the bedding and only give them more when the previous food is gone. Sprinkle the food on top and lightly mist with a spray bottle. Cover with about a four sheet thickness of newspaper that has been dampened.
Use Buffers: Buffers are substances like lime. Make sure you use garden lime or limestone dust. You want your lime to be Calcium carbonate of at least 95%. Read the bag. Don't use Hydrated lime. This will burn and KILL your worms. Lime is important as a pH buffer to keep your bedding from becoming too acidic. Testing pH is a pain in the A. I do not test unless there is a problem. Add lime to your peat moss before using as bedding because it starts out acidic. 1 cup to a 5 gallon bucket full. Add a handful ( 1/4 -1/2 cup) of lime to your bins every couple of weeks. Keeps your worms happy. Ground up eggshells will help with this also.
Soil is not proper bedding for composting worms: Use the before mentioned bedding materials and leave the soil outside for the Canadian Night Crawlers.
If you use a plastic bin: (many people do) be aware that they do not have the airflow of a material that breathes. After initial set up, they do not require much additional water. A spritz of water on top with a spray bottle when feeding is usually sufficient. I do not drill drainage holes in the bottom of my bins. If you have drainage holes in your bins and have water running out..... your bin is WAY too wet.
Worms need some grit to process their food: One small handful of dirt or sand occasionally will suffice. Just sprinkle on top of bedding. Better yet, if you have a coffee or spice grinder, grind some eggshells into a powder and sprinkle this on top. You will also get the added benefit of pH reduction.
Try to leave your red worms alone: Everybody wants to dig around in their bins to see how their buddies are doing. If they are not coming to the top and dying...they are doing just fine. They eat and breed much better when disturbed as little as possible.
Worms can not live in their castings (poop) forever: If you have a small bin, change their bedding out about every three months. It will probably be time to split the worms into two bins anyway. Red worms will self-regulate their population so splitting helps them to reproduce more quickly.
Composted manure makes great bedding and feed: Aged and composted (not fresh) horse manure is one of the best bedding/feed materials around. I choose to not use it inside for a couple of reasons. The first reason is that I don't like the hitchhikers that come with it for use in the house. Example: fly eggs, etc. The second reason is that I screen my castings and horse manure is very fibrous and does not go through the screens well. For outdoor use, horse manure is great. Just a word of warning for you indoor worm farmers. The same reasoning applies to using outdoor compost for indoor use. Hitchhikers!
I am going to stop here. Hopefully you have gleaned enough information to get you started. People learn by doing and raising worms is no exception. Be sure to check out my Blog for more information. The information will be categorized and easier to find. If you have ideas for a blog post... let me know. You can reach me on the Contact Page. One other side note: I have noticed that red worms really like country music. It must be genetic. They will dance but there has been no two-stepping observed as yet. If you play them rap or heavy-metal.... they will go to the bottom of their bin. Welcome to the wacky world of worming.... Worm On.

